What Photos Are Needed After a Car Accident Claim?
After a car accident, the moments immediately following the collision can feel chaotic and overwhelming. Amidst the shock, checking for injuries and moving to safety is the top priority. However, once everyone is safe and emergency services have been contacted, your next critical step is to gather evidence. The photos you take at the scene can make or break your insurance claim or legal case. Without proper photographic documentation, you risk having your version of events disputed by the insurance company, which can lead to delays, reduced settlements, or even a denied claim. Understanding what photos are needed after a car accident claim is essential to protecting your rights and securing fair compensation.
This guide walks you through the specific types of photographs you should capture, how to take them effectively, and why each image matters. We will also discuss common mistakes to avoid and how to organize your evidence for maximum impact. Whether you are filing an insurance claim or preparing for a potential lawsuit, having a complete set of photos gives you leverage and credibility. For personalized assistance, LegalCaseReview connects you with top attorneys who can review your case and advise on evidence collection.
Why Photographic Evidence Matters in a Car Accident Claim
Insurance adjusters rely heavily on documented evidence to determine fault and assess damages. While witness statements and police reports are valuable, photographs provide an objective, timestamped record of the scene. They capture details that words cannot: the exact position of vehicles, the severity of damage, road conditions, weather, and visible injuries. The evidence you need to win your claim includes a well-documented photo set that leaves little room for interpretation.
Photos also serve as a powerful tool against insurance bad faith tactics. If the insurer tries to claim that the damage was pre-existing or that your injuries are exaggerated, your photographs contradict those assertions. In many cases, a strong collection of images encourages the adjuster to offer a fair settlement early, avoiding drawn-out negotiations. Additionally, if your case goes to court, photos help judges and juries understand what happened more clearly than verbal descriptions alone.
Essential Photos to Take at the Accident Scene
The moments after an accident are fleeting. Roadside conditions can change quickly as cars are moved, debris is cleared, and weather evolves. Therefore, you should start taking photos as soon as it is safe to do so. Below is a comprehensive checklist of what photos are needed after a car accident claim, organized by category.
Overall Scene Overview
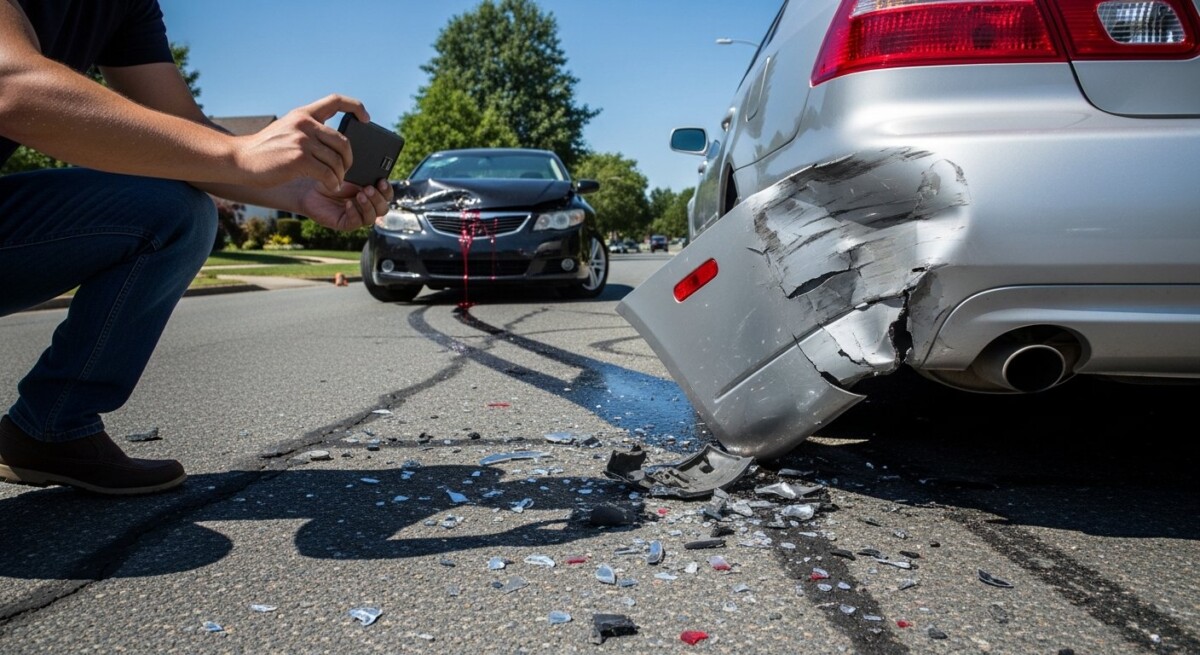
Begin with wide-angle shots that capture the entire accident scene. Stand back and take photos from multiple angles: front, rear, and both sides of the involved vehicles. These overview images show the context of the crash, including the layout of the intersection, the presence of traffic signs or signals, and the position of each vehicle relative to lanes and curbs. Include landmarks such as street signs, buildings, or mile markers to help pinpoint the location.
Take at least four to six wide shots from different vantage points. If possible, include a photo taken from a higher elevation, like standing on a sidewalk or hill, to give a bird’s-eye perspective. This set of images is often the most important for establishing fault because it shows how the collision occurred.
Vehicle Damage Close-Ups
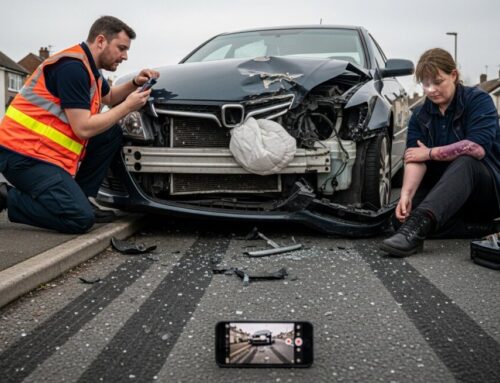
Next, move in close to document all vehicle damage. Capture every dent, scratch, cracked windshield, broken light, and displaced bumper. Do not assume that only major damage matters. Even minor cosmetic damage can be relevant to the claim. Take photos of the damage from multiple distances: a few feet away to show the area of impact, and then very close to highlight specific details like paint transfer or the depth of a dent.
Be thorough. Open doors, hood, and trunk to check for hidden damage. Photograph the interior of your vehicle, especially if airbags deployed, seats are displaced, or personal belongings were thrown around. Also capture odometer reading and the vehicle’s license plate. For the other driver’s vehicle, do the same if you can safely do so without confrontation.
Injuries and Physical Impact
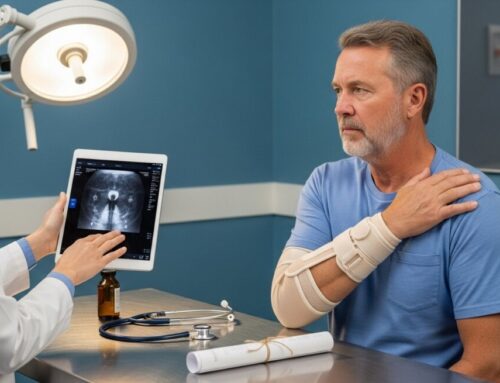
Your physical condition immediately after the accident is important to document. Take photos of any visible injuries, such as bruises, cuts, swelling, or abrasions. Even if injuries seem minor at the time, they can worsen over the following days. Photograph the injured area from multiple angles and include a ruler or object for scale if possible.
In addition to injury photos, capture any evidence of the crash’s physical impact on your body. For example, if you have a seatbelt bruise across your chest or a red mark from the steering wheel, photograph it. These images help correlate your injuries to the force of the collision. Learning how to document injuries after a car accident effectively includes taking sequential photos over several days to show the progression of bruising or healing.
Road and Weather Conditions
External factors often contribute to accidents. Take photos of the road surface, including any potholes, oil spills, gravel, or wet patches. If it is raining, snowing, or foggy, capture those conditions. Photograph traffic signs, signals, and markings, especially if they are obscured or malfunctioning. If there is debris in the road, document that too.
These images help establish that conditions were hazardous and outside normal expectations. In some cases, they may shift liability to a government entity or third party responsible for road maintenance.
Witnesses and Other Drivers
While you should never engage in heated arguments at the scene, you can discreetly photograph the other driver’s face and license plate. Also photograph any witnesses who are willing to be identified. Their expressions and body language can sometimes be useful, but primarily you want to capture their contact information. Take a photo of the other driver’s insurance card and registration if they allow it. If they refuse, note that in your photos by taking a picture of the card from a distance.
Remember to photograph the police officer’s badge number and patrol car number as well. This helps you obtain the police report later. If the officer writes a citation, photograph the ticket.
How to Take Effective Accident Photos
Simply snapping random pictures is not enough. To ensure your photos are useful in an insurance claim or legal case, follow these guidelines:
- Use a timestamped camera or app. Most smartphones automatically embed date and time metadata. If not, enable it in your camera settings. Some accident documentation apps add GPS coordinates and a digital watermark.
- Take photos in sequence. Start with wide overviews, then mid-range shots, then close-ups. This creates a logical narrative of the scene.
- Capture multiple angles. Never rely on a single image. Shoot from the driver’s perspective, passenger side, from behind, and from above if possible.
- Include a reference object. Place a coin, your phone, or a ruler next to damage or injuries to show scale.
- Do not delete blurry photos. Keep everything. A blurry image may still contain useful information like a license plate number or road sign.
After taking photos, back them up immediately. Upload them to cloud storage or email them to yourself. Also save the originals without any edits or cropping, as altered photos can be challenged in court.
Photos to Take After Leaving the Accident Scene
Your documentation should not end when you leave the scene. In the days and weeks following the crash, continue taking photos that support your claim. Here are key moments to capture:
Vehicle Storage and Repairs
If your car is towed to a repair shop or storage lot, photograph its location and condition upon arrival. Document the towing process, the tow truck, and the final resting place. If the shop performs an inspection, ask to photograph the vehicle on a lift to show undercarriage damage. Keep a photo log of any repair estimates and invoices.
Injury Progression
As mentioned earlier, injuries evolve. Take daily photos of bruises, swelling, cuts, and surgical scars. This timeline helps demonstrate the severity and duration of your pain and suffering. If you have no witness in your car accident case, photographic evidence of injury progression becomes even more critical to substantiate your claims.
Medical Records and Bills
Photograph all medical documents, including emergency room intake forms, discharge instructions, prescription bottles, and physical therapy schedules. While you should keep physical copies, photos provide an easily accessible backup. They also allow you to share documents with your attorney quickly.
Common Mistakes to Avoid When Taking Accident Photos
Even well-intentioned photographers can make errors that weaken their claim. Avoid these pitfalls:
- Taking too few photos. Do not assume you have enough. The more images you have, the harder it is for the insurance company to dispute facts.
- Only photographing your own vehicle. Capture the other vehicle’s damage, the surrounding scene, and any relevant objects.
- Ignoring interior details. A cluttered interior or broken cup holder may seem trivial, but it can prove the force of impact.
- Deleting photos that seem redundant. Keep everything. Redundant images provide multiple viewpoints.
- Failing to photograph after you leave the scene. Delayed injuries and continued damage are just as important as immediate evidence.
Another common error is waiting too long to take photos. By the time you get home, the scene has been cleared and witnesses have left. Act immediately to preserve evidence.
Organizing and Storing Your Photos for Your Claim
Once you have a collection of images, organize them in a clear, logical manner. Create folders by date: Day 1, Day 2, etc. Within each folder, organize subfolders: Scene Overview, Vehicle Damage, Injuries, Medical Documents. Rename files with descriptive titles like “Rear bumper damage from impact” rather than “IMG_1234”. This makes it easy for your attorney, the insurance adjuster, or the court to find specific images.
Maintain a written log that describes each photo and why it is relevant. For example: “Photo taken at 3:15 PM showing the other vehicle’s position across the center line.” This narrative strengthens your credibility. When you submit your claim, provide a selection of the most impactful photos rather than dumping hundreds of files. Your attorney can help you choose the best evidence.
If your claim is denied, these photos become vital. Knowing what to do if your claim is denied often involves presenting new evidence, and your photo collection may hold the key to overturning the denial.
Frequently Asked Questions
How many photos should I take after a car accident?
There is no fixed number, but aim for at least 30 to 50 photos from the scene alone. This includes wide shots, close-ups, and angles from all directions. More is always better than fewer.
Can I use my smartphone camera for accident photos?
Yes, modern smartphone cameras are more than adequate. Ensure the lens is clean and the flash is on if lighting is poor. Enable location services and timestamp features in your camera app.
What if I forget to take photos at the scene?
Return to the location as soon as possible to photograph the road conditions, signs, and any remaining debris. You can also obtain traffic camera footage, nearby business surveillance, or dashcam recordings from other drivers.
Should I photograph the other driver’s license and insurance?
Yes, but only if they consent. If they refuse, take a photo of the cards from afar or write down the information. Never provoke a confrontation.
How long should I keep accident photos?
Keep them until your claim is fully resolved and the statute of limitations has expired in your state. For personal injury claims, this can be two years or more. Store copies in multiple locations: cloud, external drive, and printed backups.
Take the Next Step to Protect Your Claim
Knowing what photos are needed after a car accident claim is the first step toward building a strong case. But gathering evidence can be challenging, especially if you are injured or overwhelmed. LegalCaseReview offers free case evaluations and connects you with experienced personal injury attorneys who understand what insurers look for. They can review your photo evidence, identify gaps, and advise on additional documentation. Do not leave your recovery to chance. Contact us at 833-227-7919 or visit our website to speak with a qualified lawyer who will fight for the compensation you deserve.